* This post may contain affiliate links, which means that we may receive a commission if you make a purchase using these links.
When you start to run out of space in your home and look to extend but then realise you don’t have enough cash for a full extension or a conservatory…maybe a log cabin could fit the bill?
This is the question we posed during lockdown as our lack of inside space coupled with two boisterous kids was driving us crackers! We had eyed up wooden structures in some local garden centres and research online led us to the likes of Dunster House and Tuin, both established and respectable manufacturers and suppliers of these types of buildings.
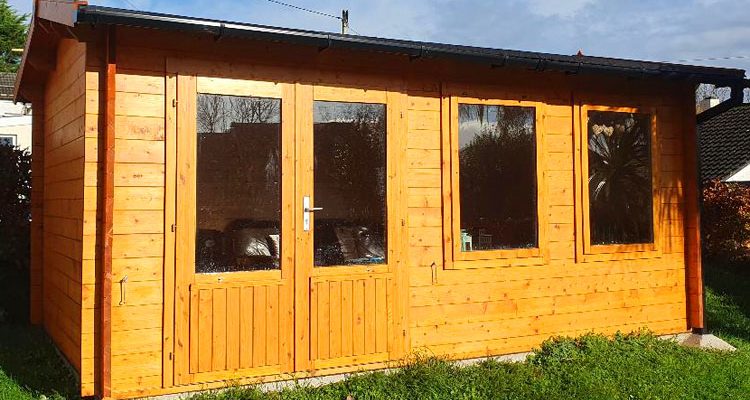
We did quite a bit of research and eventually decided on Tuin’s Aiste 5 x 3 metre log cabin. Featuring 40mm spruce logs, two double glazed windows and double doors, the Aiste seemed to be a perfect blend of space, insulation and price. Dunster House’s insulated Severn Warmalog 5 x 3 metre cabin looked promising but Tuin’s cabin seemed a better value considering we could source some of the insulation locally and save a decent amount in the process. Being that it was going to be a self build (saving around £1800 in the process), the whole Tuin website seemed to be geared towards practical advice and saving money the ‘DIY way’. The free roof shingles (much better than typical felt) sealed the deal for me!
We placed the order for £3,465 (2021 price) having opted for the additional 18mm flooring pack as I could not get the component parts that much cheaper from our local timber yard at the time.
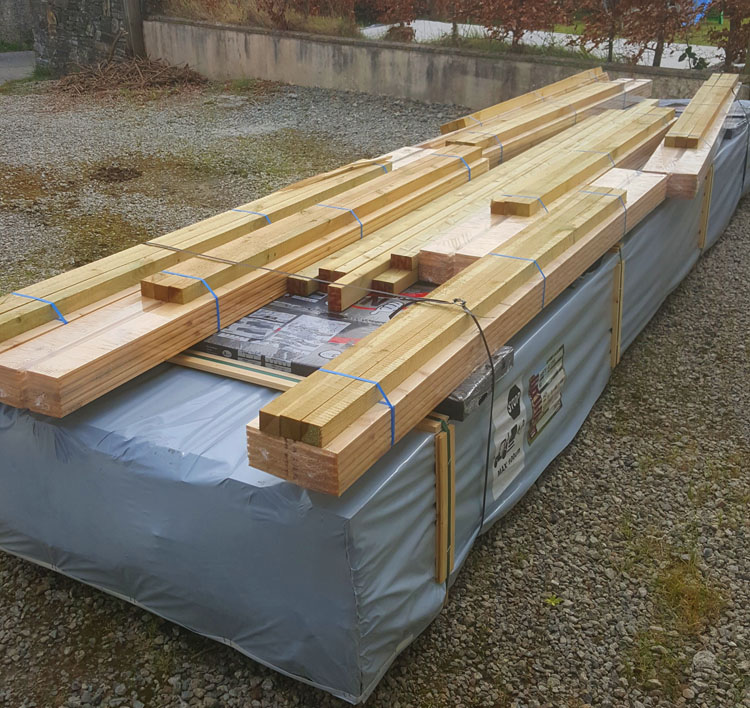
I was nervous on the day of delivery as I wondered how a large lorry would fit along the country lanes near our house and whether the forklift would be able to negotiate a gradient gravel drive. I needn’t have feared as the driver had parked his lorry a mile away and then drove the rest of the way on what I would best describe as an all terrain forklift carrying a 5 meter long load! It had no problems with our drive and the driver carefully dropped off the cellophane sealed package onto our drive. I wasn’t particularly chuffed at the decanting of the whole lot to our garage but it did give me a chance to check everything piece by piece.
A few weeks later we chose a weekend to get the initial build underway. We had already built an exact footprint and flat concrete base which cost about £250 for the pre-mixed concrete delivery and a few quid for the wood for shuttering and a roll of damp proof membrane (which had enough left for when the floor was installed). Again, this saved quite a bit of money versus getting a builder in to lay a slab.
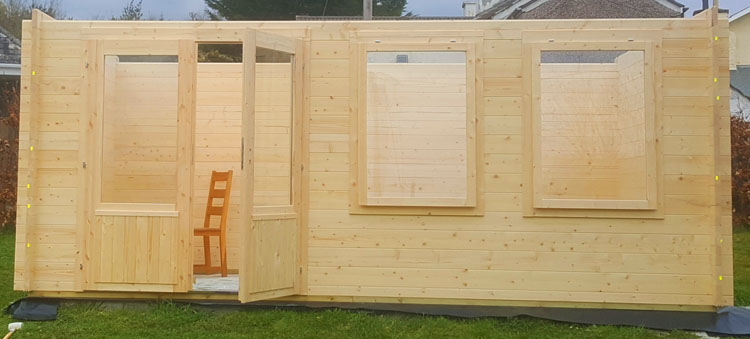
Day 1: Building the main cabin structure. After an hour faffing with the bottom logs, the initial building of the walls was very quick when shared between me and my wife! The walls, doors and windows (which all slot in easily with a few taps of a rubber mallet) and the roof purlins were up in a day.
Day 2: Starting the roof. The next day I set upon the roof which was fairly straightforward. Having not built a pitched roof before I did make a mistake inserting some of the tongue and groove boards in the wrong way around so be aware there’s only one way they can (or should) go! I spent the rest of the second day on nailing in the roof boards.
Days 3 – 5: Finishing the roof. I continued with the roof on days 3, 4 and 5. I had decided to insulate the roof and floor with 50mm insulation boards as Tuin’s blog suggested. I purchased 11 sheets of 1.2m x 2.4m Recticel 50mm insulation board from Trago (a local firm) at a cost of £274.89 (£24.99 a board) to get adequate coverage for roof and floor. I had to invert the roof trim and barge boards to retain the insulation in place but it was a fairly easy task to fit it. Insulation board is easy to cut with either a saw or kitchen knife, I tried both ways and found that scoring then snapping the board a reasonable way to cut them straight. I had to cut a few fiddly V shapes to cover the ‘V’ shaped gap left on the ridge.
Because of the added 50mm insulation, I had to purchase extra 65 / 70mm clout nails for the next part which involved driving the clout nails though the shingle strips and insulation to the roof boards below. The shingles took the best part of a couple of days to complete by myself. Unluckily, I forgot to stick down the edge shingles as advised so overnight strong wind blew a couple of them back, tearing them. I purchased both Everbuild Blackjack Roof Felt Adhesive (£9.49) and some Everbuild Roof And Gutter Sealant (around £3) to repair the ripped shingles and also stick the edged shingles down as I should have done in the first place! I found the latter much easier to apply with a gun and the former quite messy when applied with a brush. The adhesives were also needed for the ridge tiles for extra adhesion so I managed to use quite a bit of both products!
Day 6 and 7: Starting the floor. I started the floor on day 6, choosing to insulate it with the same 50mm insulation sheets I had purchased for the roof. It was my first attempt at a floating floor but I found it straightforward following the advice on Tuin’s website. Once the joists were laid and the gaps filled with insulation board, I set to work on attaching the 18mm Spruce floorboards. It took quite a while as I had to chop saw every other plank. Talking of chop (or mitre) saws, mine was invaluable for the amount of cutting I needed with the joists and floorboards. Although a relatively cheap saw, my Evolution R210CMS (about £70) was more than up to the job. The work was stalled for a day or so as some of the boards were stained green with damp but, testament to Tuin’s support, they sent me some replacement planks in the post that arrived very quickly. Blind nailing each floorboard took significantly longer than simply hammering the nails in, but the result was more appealing.
The skirting (nothing fancy, simply rectangular strips of Spruce) was straightforward and simple involving a few straight and angled chopsaw cuts.
Day 8 and 9: Varnishing the floor. Once the floorboards and skirting were in I used a 2.5l tin of Barrettine Quick Drying Flor Varnish (about £30) to give them both two coats.
Tuin Wood Treatment. This is where I deviated from Tuin’s so far excellent recommendations. Tuin recommend 3 to 4 coats of their cutting-edge wonder product, Carefree Protectant (about £75 for a 2.5 litre tin), to treat the timber. Whilst the product had many reviews on their website at the time I was looking to purchase, I was cautiously skeptical as they didn’t appear to be reviews AFTER years of it being applied but rather how easy it was to apply and how it ‘might’ appear to stand the test of time. Being that it was £70 odd for a 2.5 litre tin and I was advised 22 litres to cover the outside, I worked out I would need 9 tins at a cost of over £600. As I’m all about saving money I started to look at the traditional and long standing products that have stood the test of time. As you’ll see below, my total ‘alternative’ treatment bill came to around £340, so a significant saving. Obviously, I cannot tell whether it works any worse or better than the Carefree product but what I do know is that what I did buy are very decent and typical treatments that should last a decent length of time before requiring a re-coat.
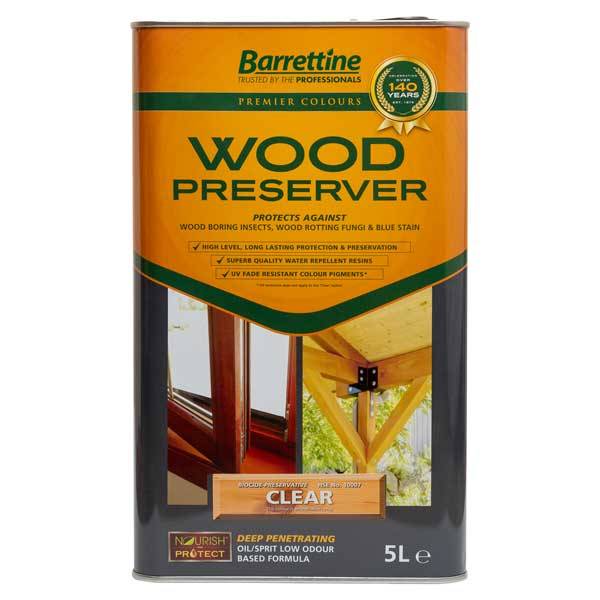
Day 10 and 11: Treating timber with wood preserver. I removed the windows to treat with Barrettine Premier Wood Preserver (around £35 for a 5 litre tin). I also started on the rest of the roof trims bargeboards and then onto the outside of the cabin. Everything got three coats. I purchased 2 x 5 litre tins and used about one and a half tins worth.
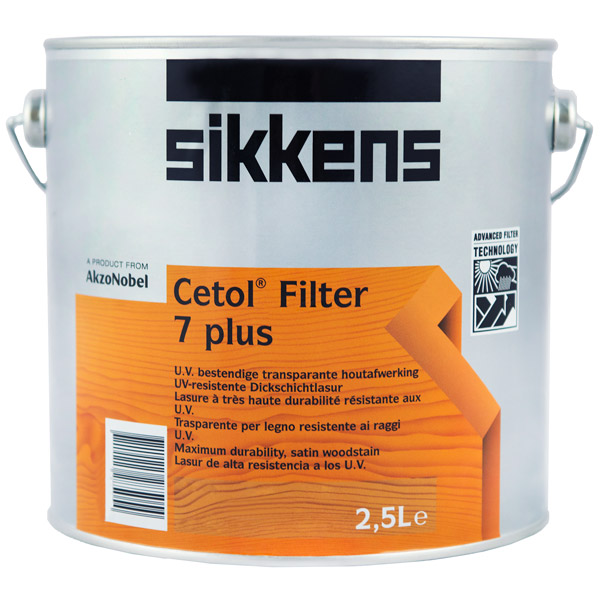
Day 11/12: Timber treatment. Once the preserver had dried I used Sikkens Cetol HLS Plus (about £70 for a 5 litre tin) as a single base coat followed by two coats of Sikkens Cetol Filter 7 Plus (about £98 for a 5 litre tin). Again, at three coats each I got through one tin of the Sikkens Cetol HLS Plus and two 5 litre tins of the rather more expensive Sikken Cetol Filter 7 Plus. I spoke with a product expert from Sikkens who advised darker stain colours in the HLS/Filter 7 range -the more opaque the product the less UV exposure the underlying wood receives.
Day 13: Window and door furniture and sealant. Once the last coat of treatment was dry I set about installing the window and door furniture which was an easy enough job. I sealed the windows and door glass with a clear external sealant like this (about £5 a 300ml cartridge), applied with a gun. For added protection, I also sealed the perimeter where the foundation beams meet the base with Puraflex 40 PU Sealant Adhesive (about £7 for 300ml).
Day 14: Installing the guttering. I had opted not to use Tuin’s guttering add-on as I wasn’t sure at the time of purchase what type or style I wanted. I ended up getting a delivery from Toolstation for £80/90 worth of guttering. I ended up using the following:
1 x 114mm Square Line Gutter 18m pack (only used about 10 metres or 4 x 3m cut to size)
18 x 114mm Square Line Fascia Bracket
4 x 114mm Square Line Stop Ends
2 x 114mm Square Line Union Brackets
2 x 114mm Square Line Running Outlets
4 x 65mm Square Offset Bend 112.5°
3 x 65mm Square Down Pipe 2.5m (with some leftover)
4 x 65mm Square Downpipe Clips
The downpipes went into a drainage channel like this (about £60) using a pipe from the bottom to take the water away from the base.
Fascia board wedges. The angle of the fascia board for the Aiste means that the gutter bracketing could not be installed as is without ‘correcting’ the angle. There are a number of ways to do this but I opted for the cheap and cheerful ‘wedge’ method! I purchased 3 of these 10mm 150 x 10mm HDPE sheets (about £10) and cut them into 16 wedges using my table saw. I then pre-drilled the bracket holes and used them when attaching the gutter and brackets.
And that’s it, roughly 14 days in and the job is complete! Arguably it could be done quicker by a more competent DIYer e.g. a week to ten days but I figure 14 days, most of it alone at an easy-ish pace is not bad going.
Tuin’s support is legendary!
I don’t think I’ve ever purchased a DIY product and had the level of help that Tuin gave me (they did not know that the build would get published in this article). I had so many questions pre and post sale and, even when I messed up, someone was there to respond to my emails. I must thank Philip in particular as he helped me correct a few errors I had made as an amateur DIYer!
Total spend (approximately!)
At the time the cabin, free shingles, delivery and 18mm flooring pack cost £3465. If I factor in the base (around £300 all in), insulation £280, wood treatment for both outside and the floor (around £400 including any extras like brushes/masking tape), sealants/adhesives (about £20), guttering (around £100) and drainage channel (about £60), you get to around £4600. I figure that’s not too bad for a room that you can, as is without a dedicated electric supply, use for most of the year. The insulation means we can easily be ‘outside’ in the evening well into October/November. It seems to me to fare better than a conservatories we’ve had in the past, as in not as uncomfortably hot in the summer and not as cold in the winter.
A year in…
It’s been over a year since it was installed and it is definitely one of our better ‘expensive’ purchases as a family as it has created an extra room/office/kids area on what was an unused part of the garden. The next project is to get electric to it. We have been quoted around £500 for a 13 amp spur off an existing socket (limited to 13 amps) or £1500 for the more ‘proper’ way of having its own cable straight from the consumer unit which would mean more capacity. As we haven’t really used the cabin when it has been dark we’ve managed to shy away from having to do that just yet! Heating wise, we did splurge on an attractive Calor Gas ‘Provence’ LPG heater which looks great and easily heats the cabin.


